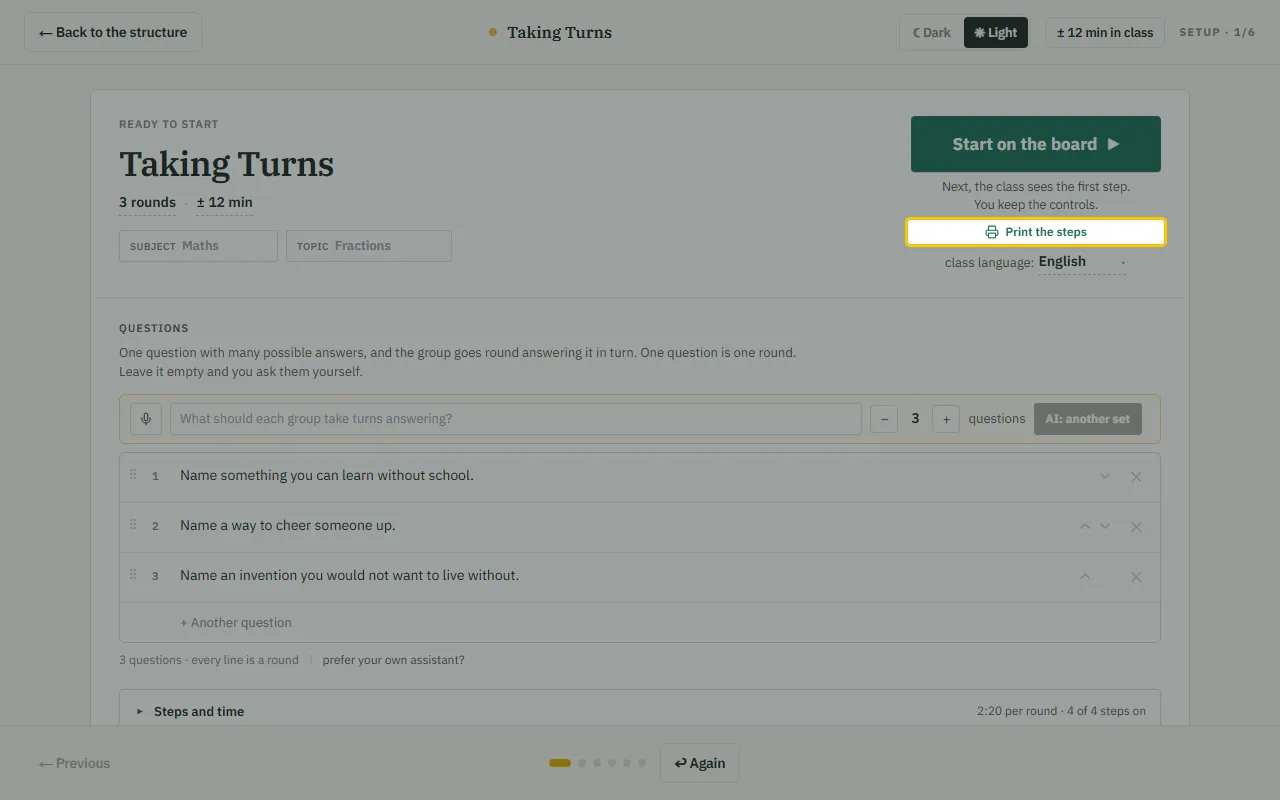
Start a structure on the board
Put the screen on the board or projector, open the structure and press “Start on the board”. The start screen is for you. After it the class sees only the steps, and you keep the buttons.
Step 1
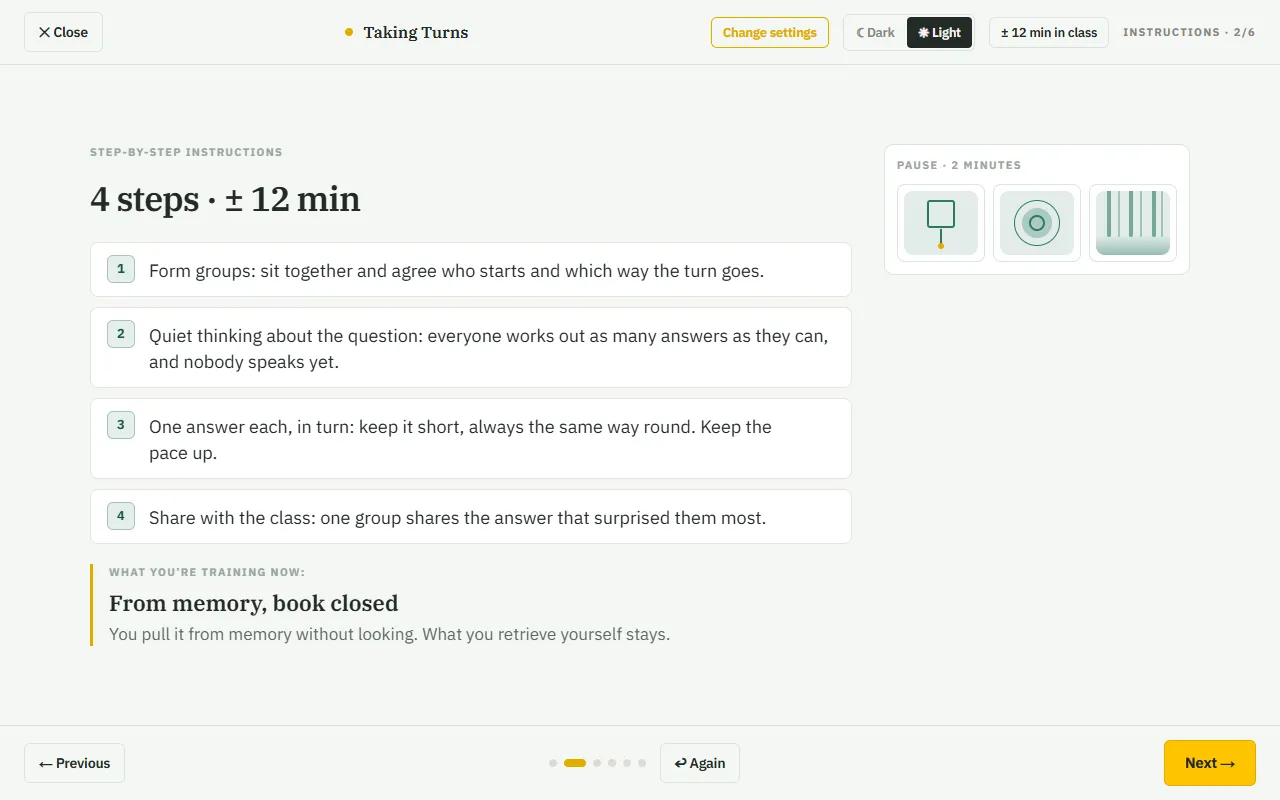
Read the steps together
First the class sees all the steps. Read them out and answer questions. Click “Next” once everyone knows what is coming.
Step 2
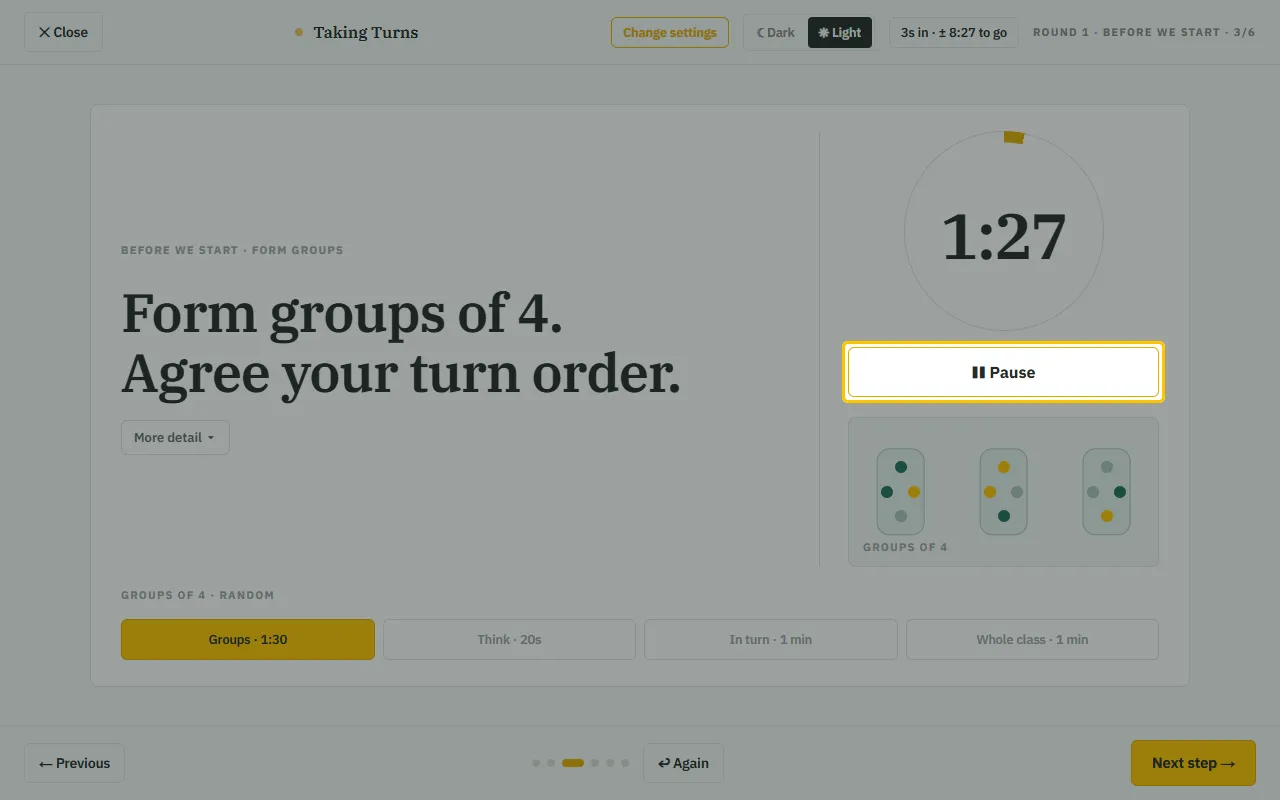
The timer runs per step
Every step has its own timer, and the class sees how much time is left. “Pause” stops it, for instance when a group is not ready yet or you want to explain something.
Step 3
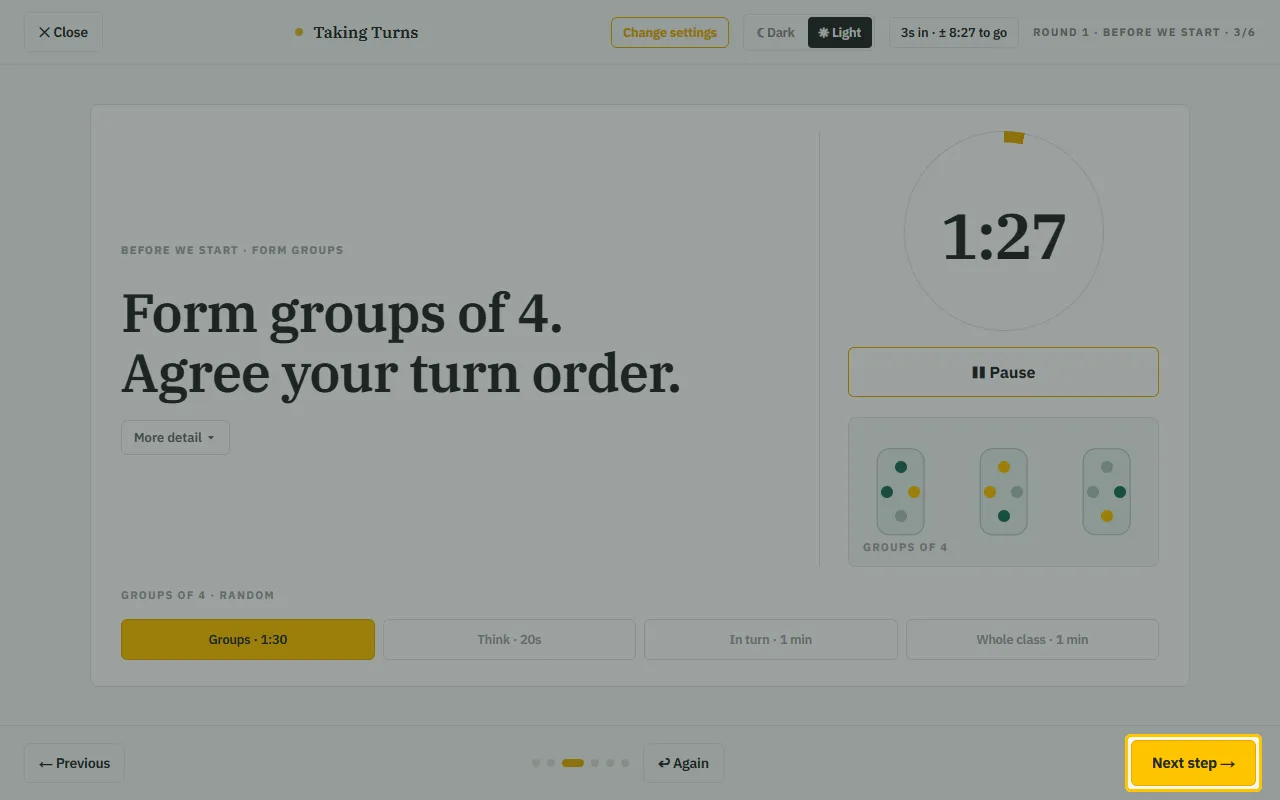
On to the next step
“Next step” at the bottom right moves on, even before the time is up. You see when the class is ready. “Previous” takes you one step back.
Step 4
Change something during the lesson
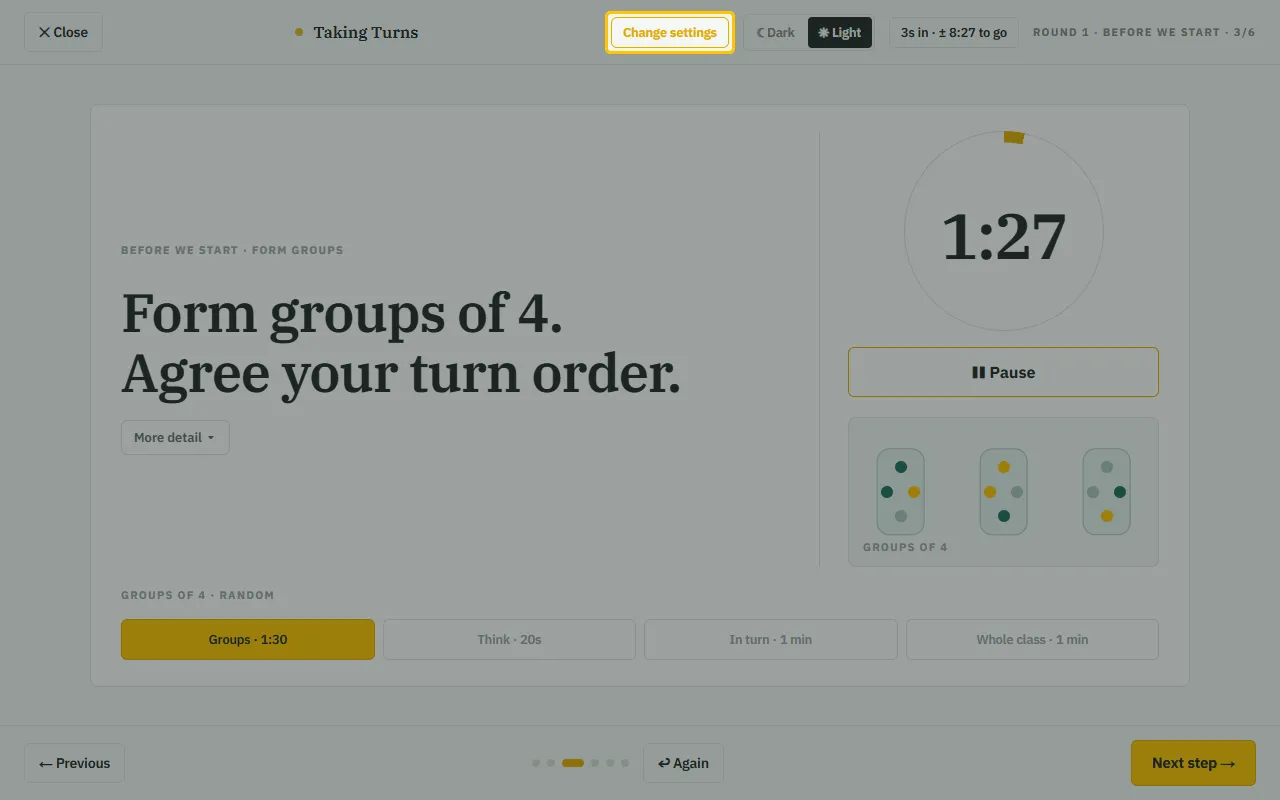
“Change settings” at the top takes you back to the start screen, for instance to change a question or shorten a step. “Close” at the top left stops the structure.
Step 5
Light or dark, during the lesson too
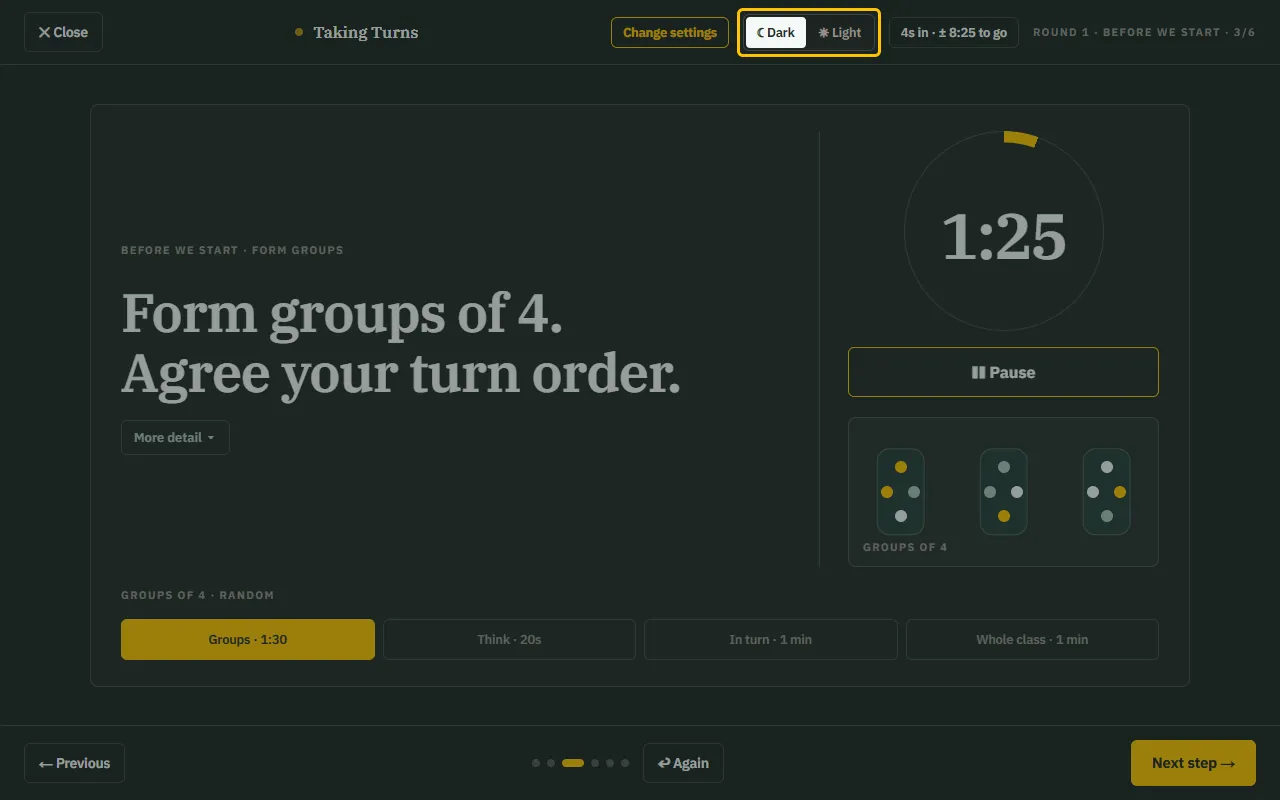
The same switch “Dark” | “Light” sits in the bar above the board. The board changes colour at once, and the step stays where it was. Handy when the sun hits the board or the curtains close.
Step 6
No board?
“Print the steps” gives you the steps on one A4 sheet, with the time per step and your own questions. Put it on the table or on the wall, and run the timer on your phone.