What you can print and where to find it
The board carries the steps, but part of the work lies on the table: cards, worksheets, role cards. There are four kinds of printable material. Each has its own place on the site and its own purpose.
Step 1
The steps of one structure
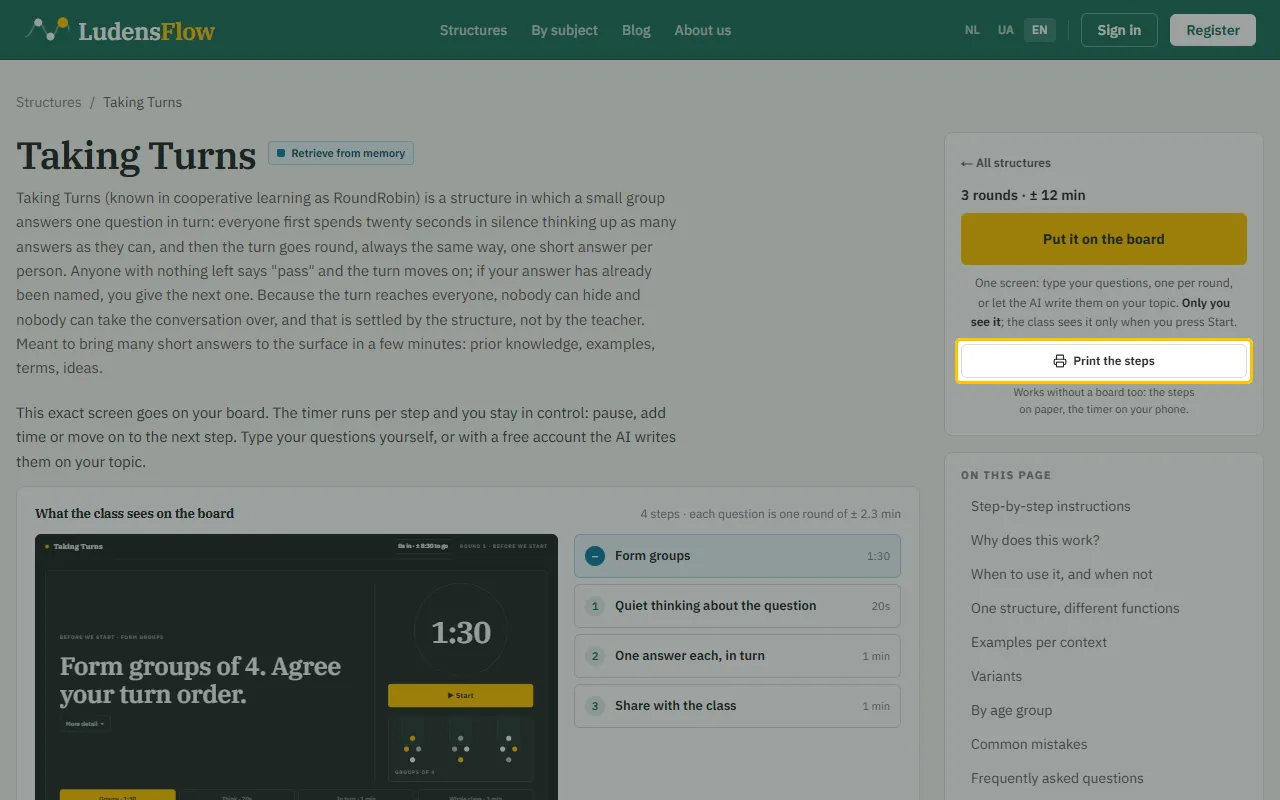
On every structure’s page, under “Put it on the board”, is the button “Print the steps”. You get the steps on one A4 sheet, with the time per step. It is for a lesson without a board: put the sheet on the table or hang it up, and set the timer on your phone.
Step 2
What a structure needs is on its page
If a structure needs materials, its page has a block “Materials”. It lists what to lay out: cards, something from the basic kit, a worksheet. Every row links to the place where you print it.
Step 3
The basic kit for your classroom
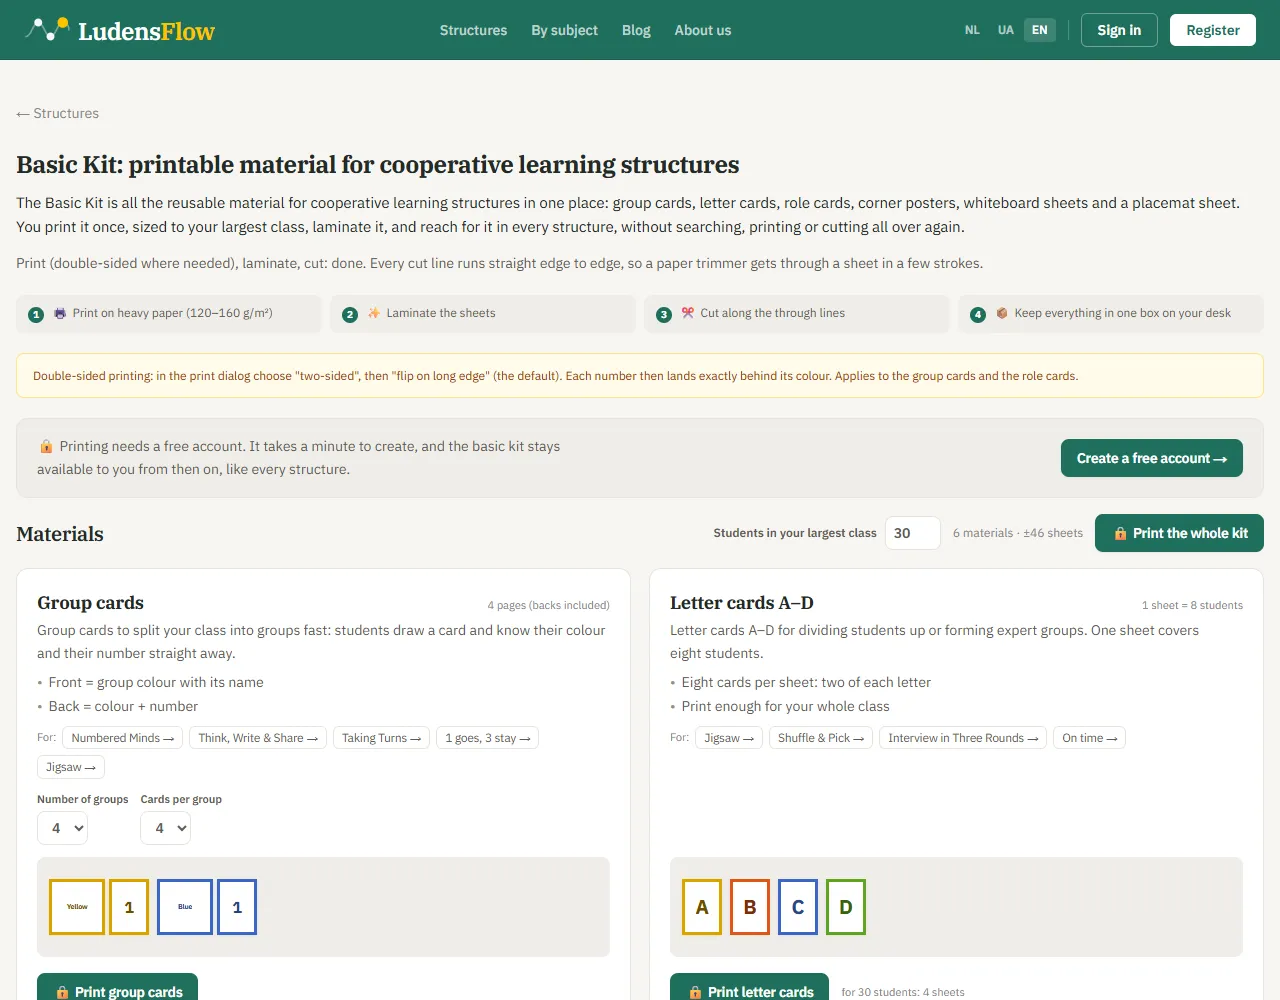
The “Basic Kit” is the material that returns in many structures: group cards, letter cards A–D, role cards, corner posters, whiteboard sheets and a placemat sheet. Enter how many students your largest class has, and the page counts the sheets. Print everything with “Print the whole kit”, or one material on its own. Each material says which structures it is for. Print on thick paper, laminate it and keep it in one box: then you print only once. Printing needs a free account.
Step 4
Worksheets for the lesson and for home
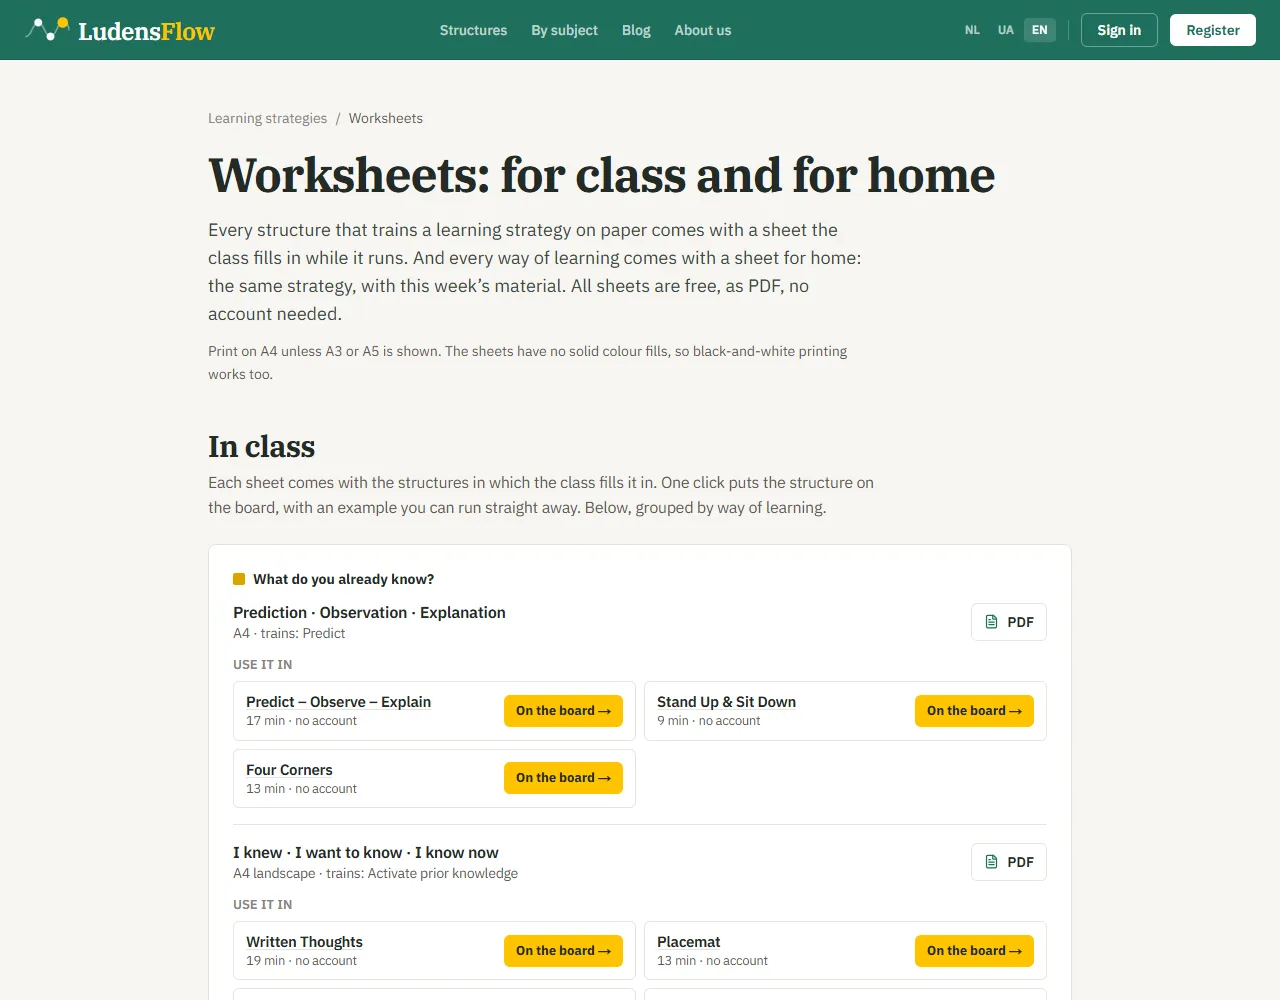
A worksheet belongs to a structure that trains a learning strategy: the student fills it in during the structure. The home sheet lets them use the same strategy at home. You find a worksheet on the structure’s page, and all of them together on “Worksheets”. They are free PDFs, without registration. Print on A4 unless A3 or A5 is stated; black and white works too. Under each sheet are the structures you use it in, with the button “On the board”.
Step 5
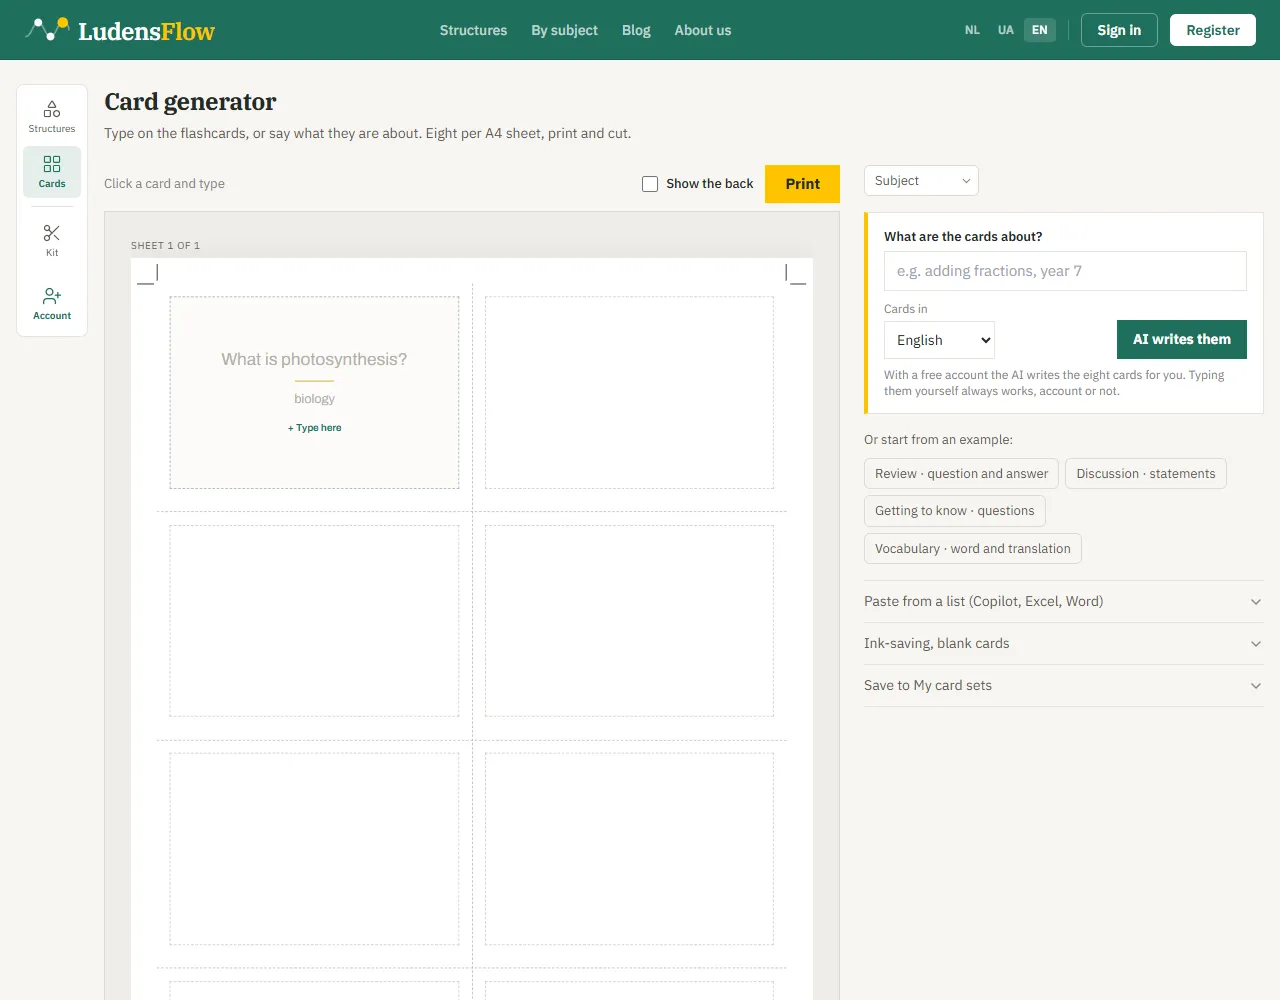
Cards with your own questions
Many structures run on cards: a question on the front, the answer on the back. You make them in the “Card generator”, eight cards per A4. You write them yourself or let the AI write them.