Find the structure that fits your lesson
You do not need to know the library. Say what should happen in your lesson, and the assistant or the filters leave a handful of structures. Below you also read how that choice is made.
Step 1
Start with the assistant
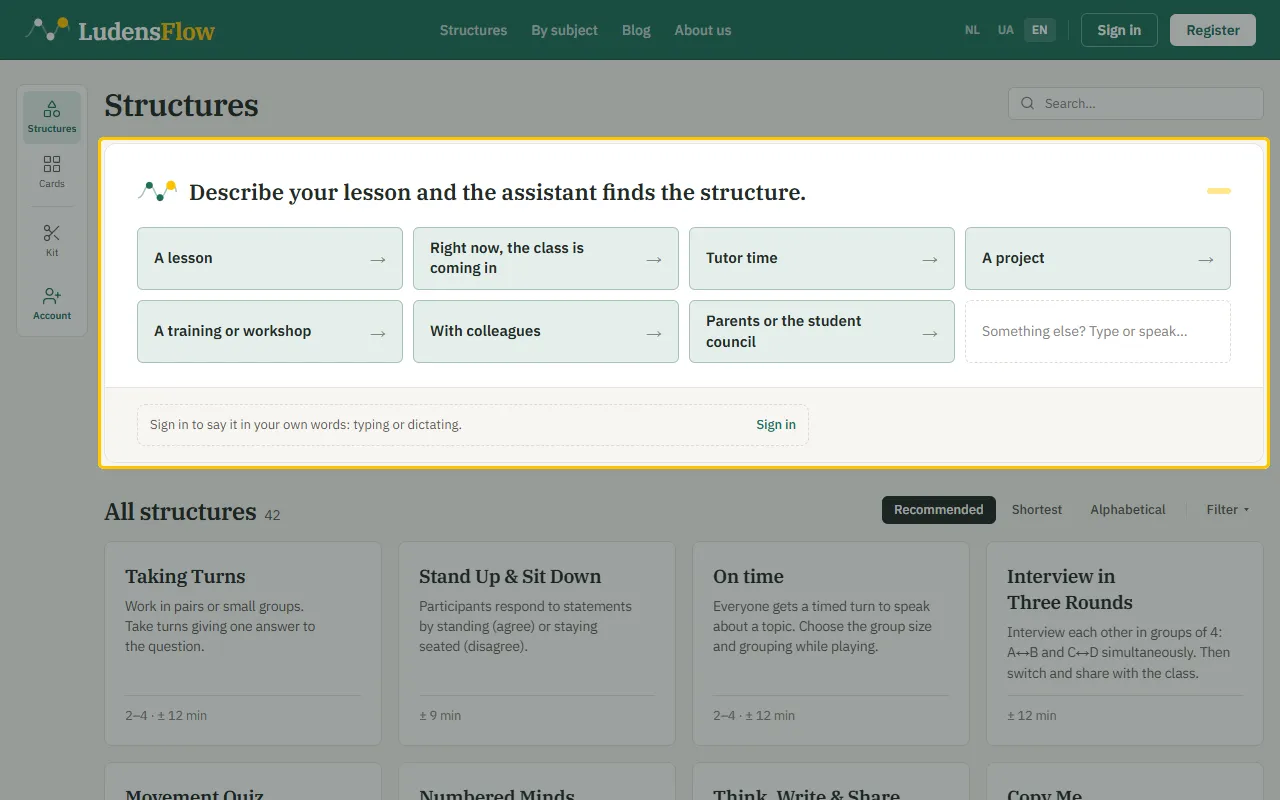
At the top of “Structures” sits the assistant with seven tiles. Tap what you need a structure for, for instance “A lesson”, “Tutor time” or “A project”. You do not need an account for this.
Step 2
Answer a few questions
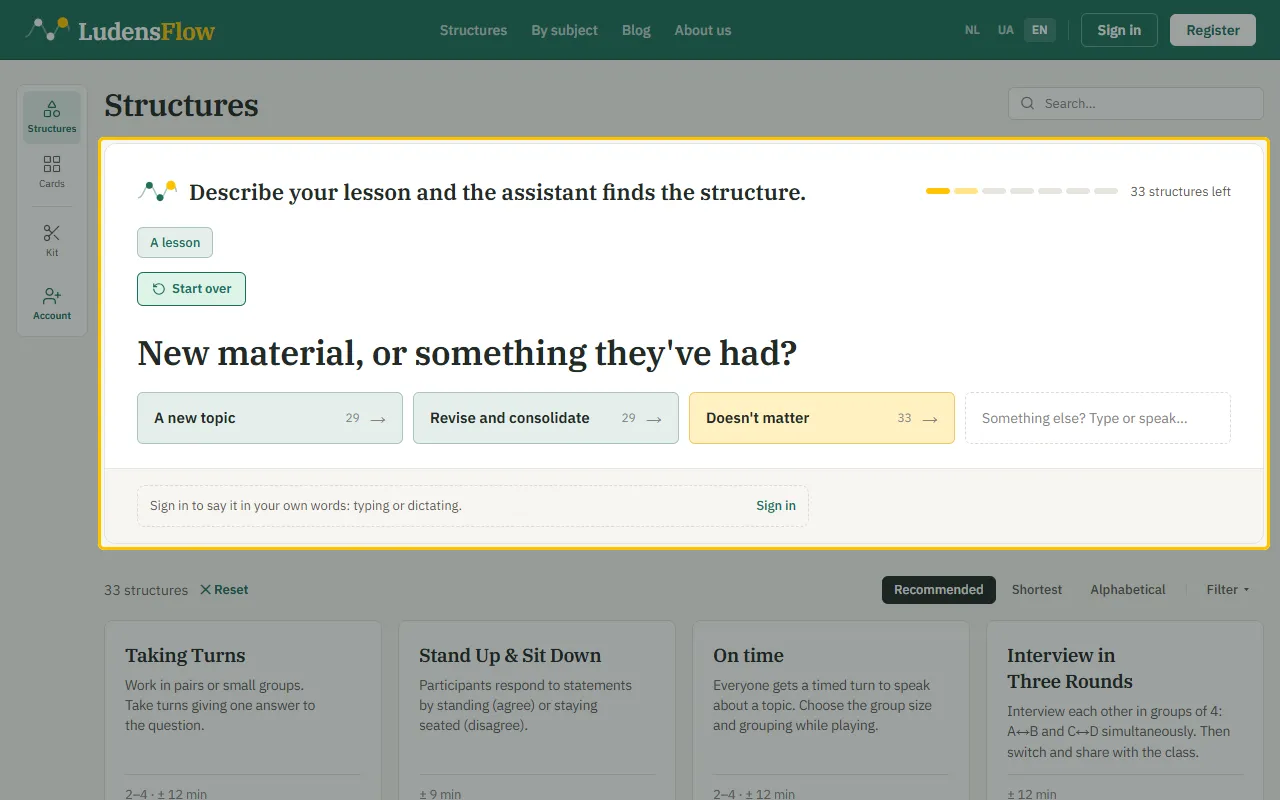
The assistant asks one question at a time, and you answer with a tap. For instance whether the material is new or already covered. You also see how many structures are left. If a question does not matter to you, there is a tile to skip it. With three or fewer left it stops asking and shows them. “Start over” takes you back to the first question.
Step 3
Say it in your own words
With a free account you can also click “Something else? Type or speak…” and tell in a few sentences what you need: which class, which topic, what should happen. The assistant takes what it can use and asks only about what is still open.
Step 4
Or choose yourself with the filters
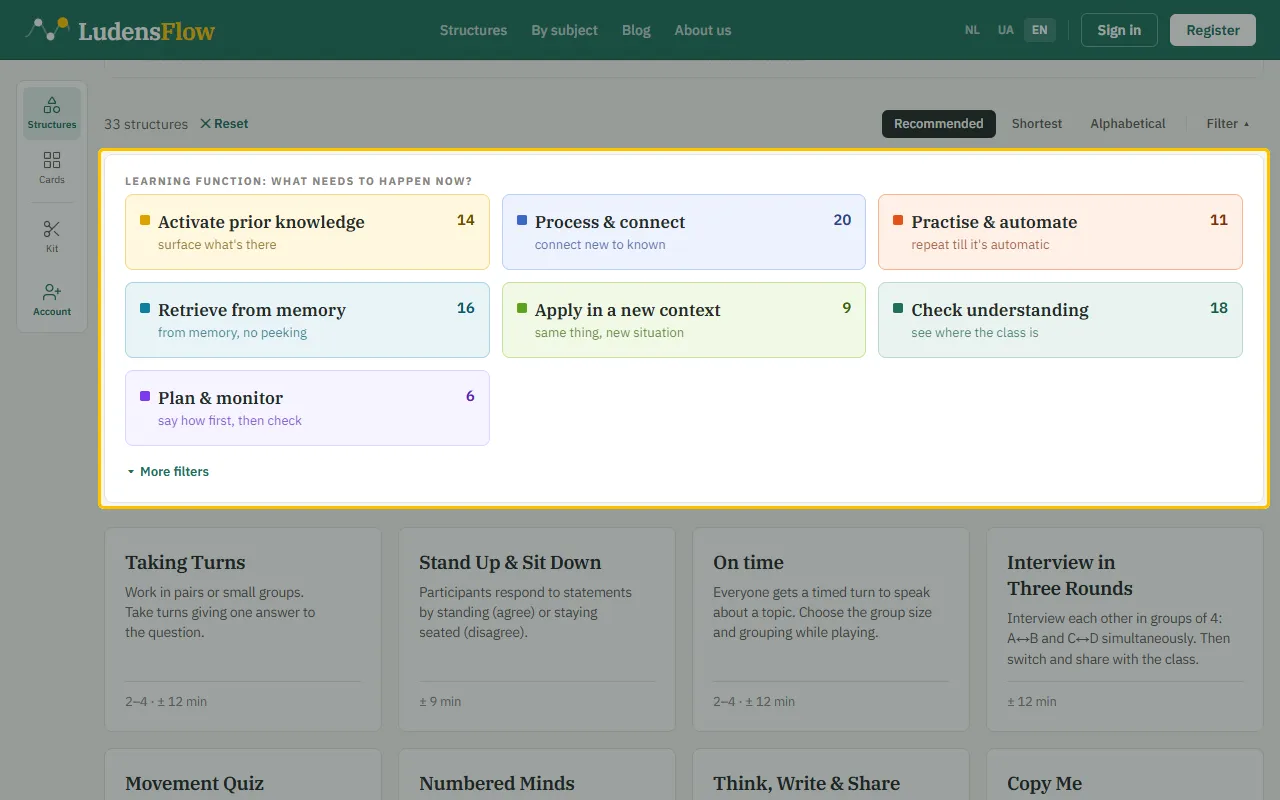
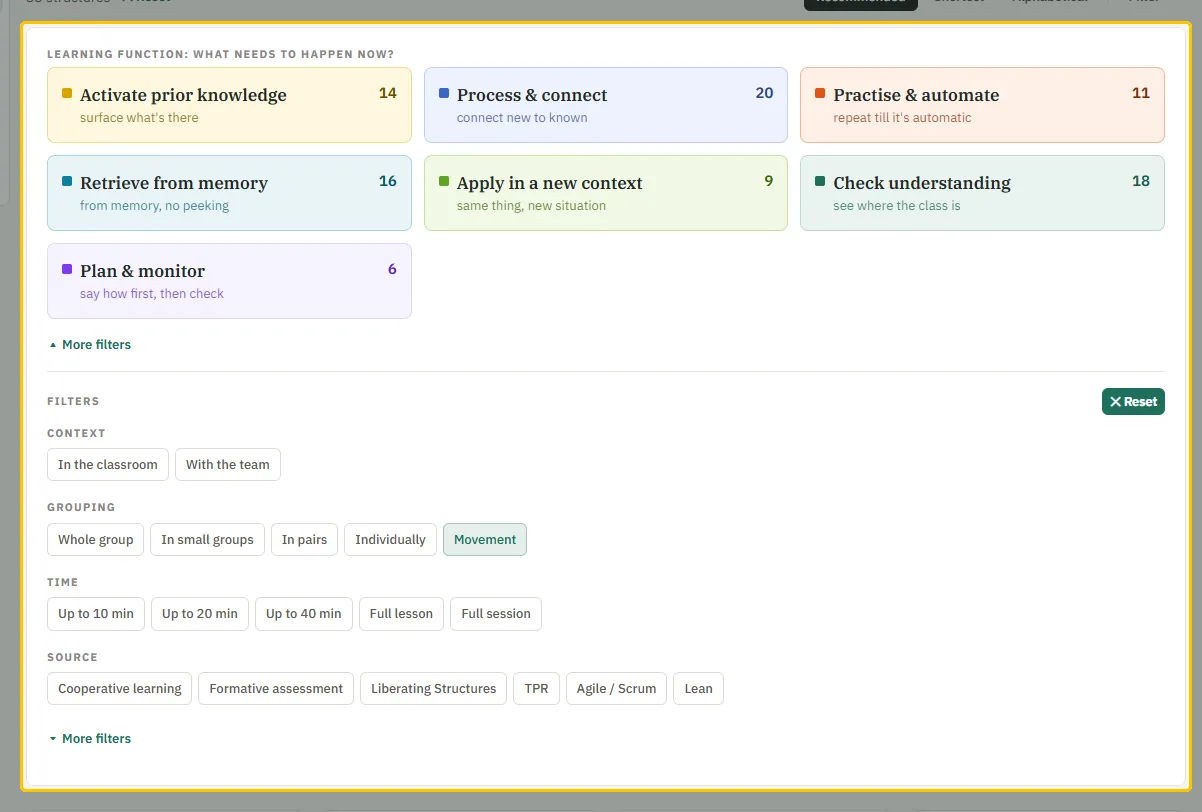
In the bar above the cards click “Filter”. The seven coloured tiles answer one question: what should happen in the lesson right now? Activate prior knowledge, process, practise, retrieve from memory, apply, check understanding or plan. Each tile shows how many structures belong to it. You choose one: a second tap replaces the first.
Step 5
Narrow down by time, grouping and source
“More filters” opens four rows: “Context”, “Grouping”, “Time” and “Source”. A second “More filters” adds “Lesson phase” and “Preparation”. Within one row your choices add up: pairs plus groups gives structures for both. Across rows it gets stricter: pairs and ten minutes leaves only short structures for pairs. Time takes one limit. “Reset” clears everything.
Step 6
The assistant and the filters are one choice
What you answer the assistant is then ticked in the filters, and the other way round. So you can start with the assistant and adjust with the filters. The assistant shows its proposal at the top, and the cards below follow the same choice.
Step 7
Sort what is left
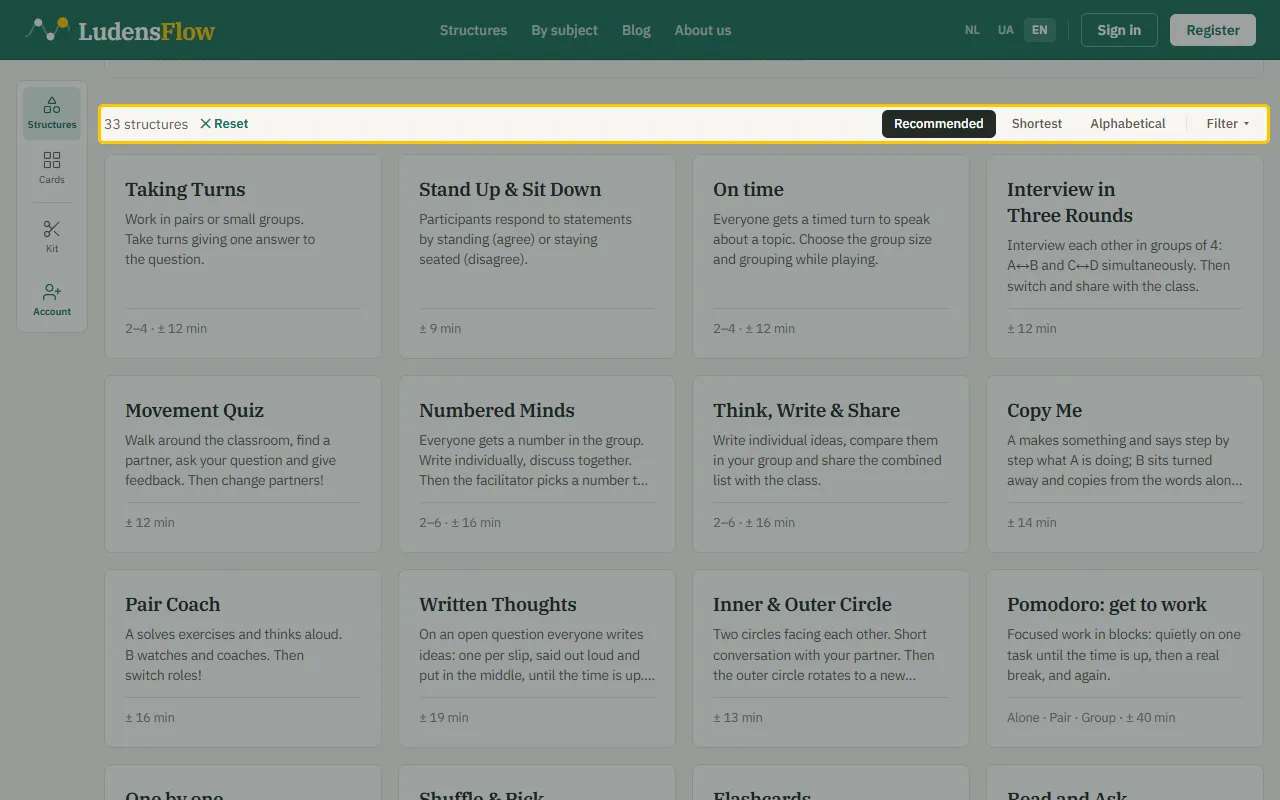
Next to “Filter” are three buttons. “Recommended” is our own order: structures for the classroom first, then those for teams and peer consultation, and within each group the most used ones in front. “Shortest” puts the shortest first, and “Alphabetical” helps when you already know the name. Every card shows the group size and the duration.
Step 8
Rather a structure that is already filled?
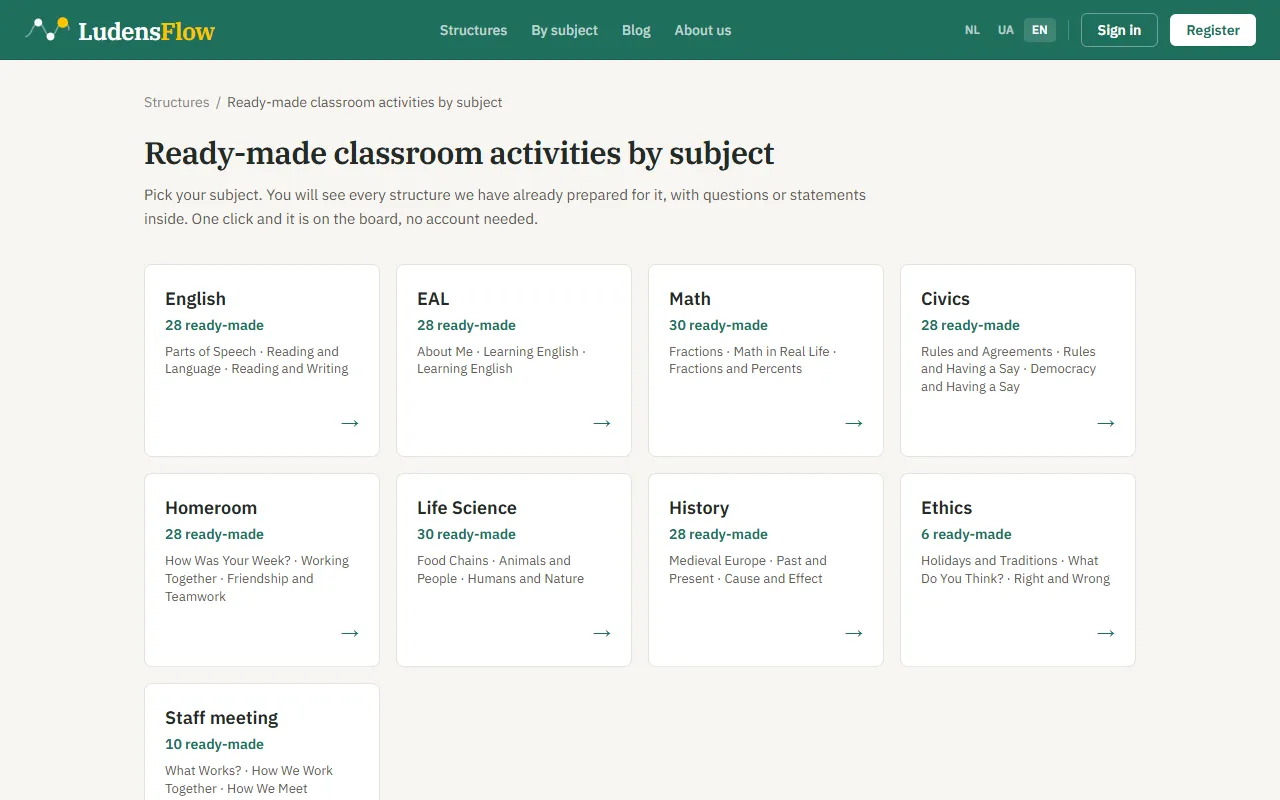
Under “By subject” in the menu you pick your subject. You see the structures we already prepared for it, with questions or statements in them. One click and they are on the board, without an account. Afterwards you change the questions to fit your own lesson.