Prepare a structure for your class
Preparing a structure takes a few minutes: choose it, put your own content in and set the time. The method belongs to the structure. The content and the timing are yours.
Step 1
Choose a structure
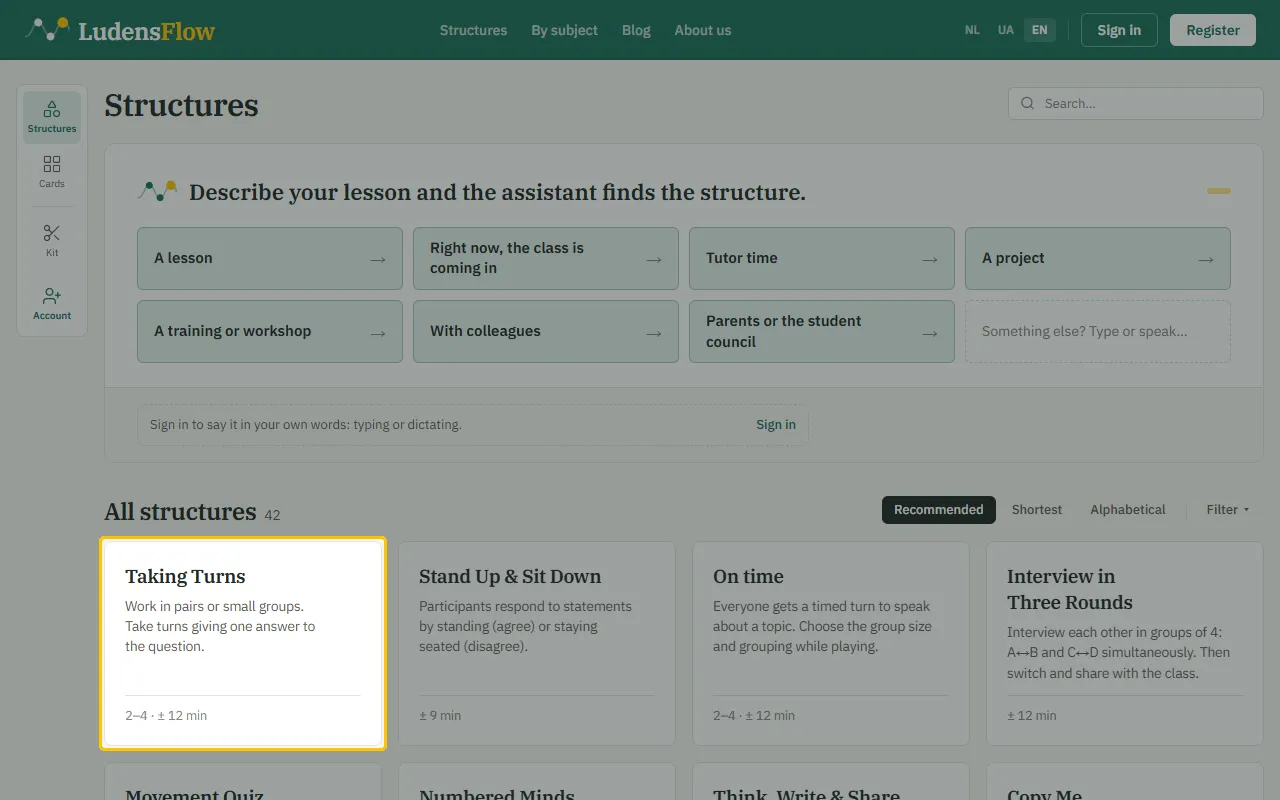
Under “Structures” you find them all, with group size and duration on every card. Not sure which fits? Tell the assistant at the top about your lesson and it keeps two or three.
Step 2
Open the structure
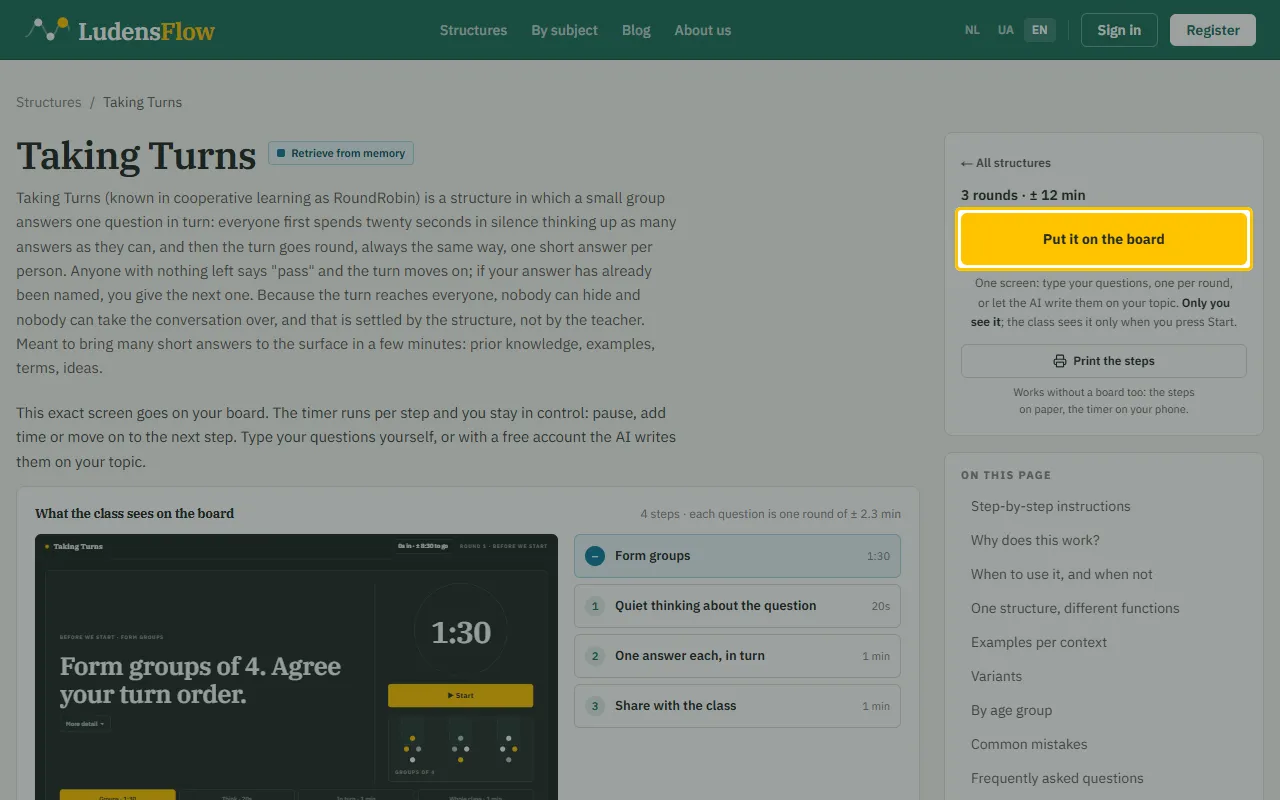
On the structure's page you read how it works and see how the class sees it on the board. Click “Put it on the board”. You land on the start screen. Only you see it; the class sees it once you start.
Step 3
Put your own content in
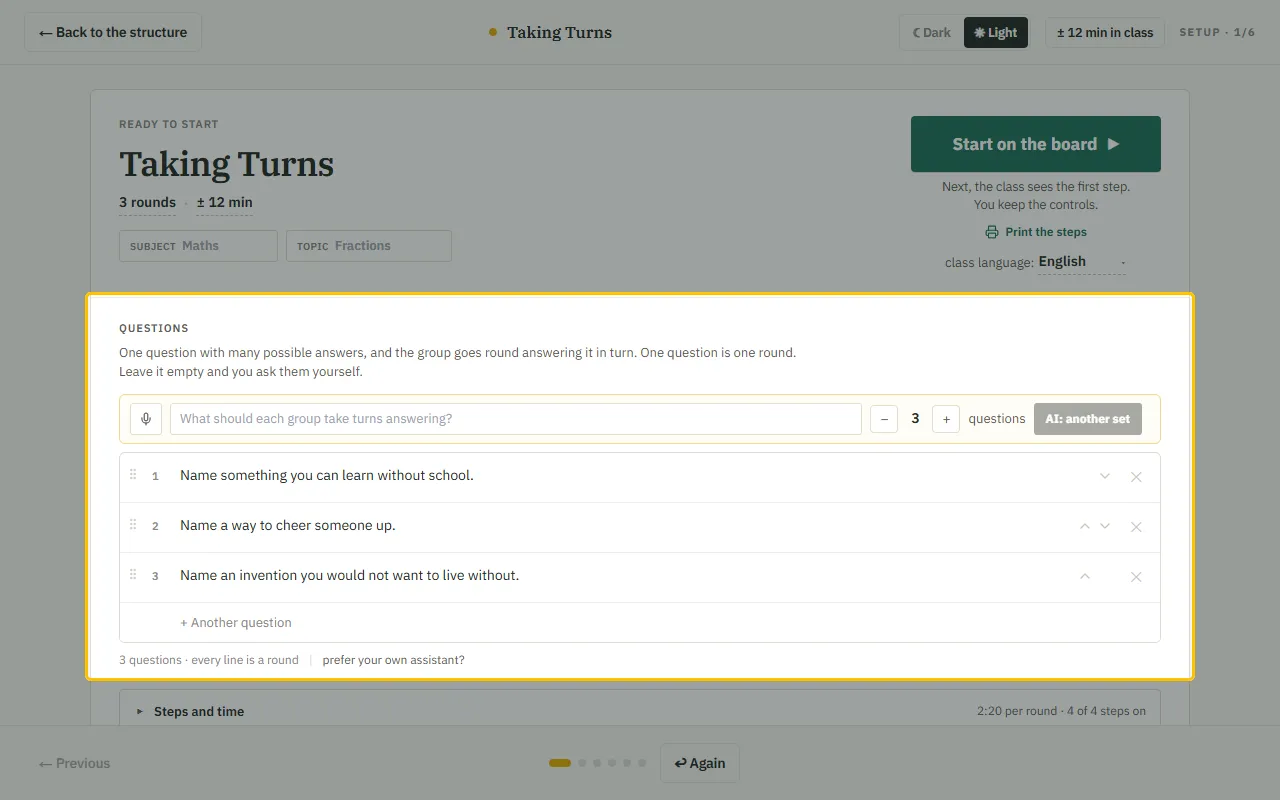
On the start screen you type your questions or statements, one per line. Each line is one round. With − and + you choose how many, and “Speak” lets you say them instead of typing. You may keep the examples that are already there, or remove them with the cross ✕.
Step 4
Let the AI write the questions
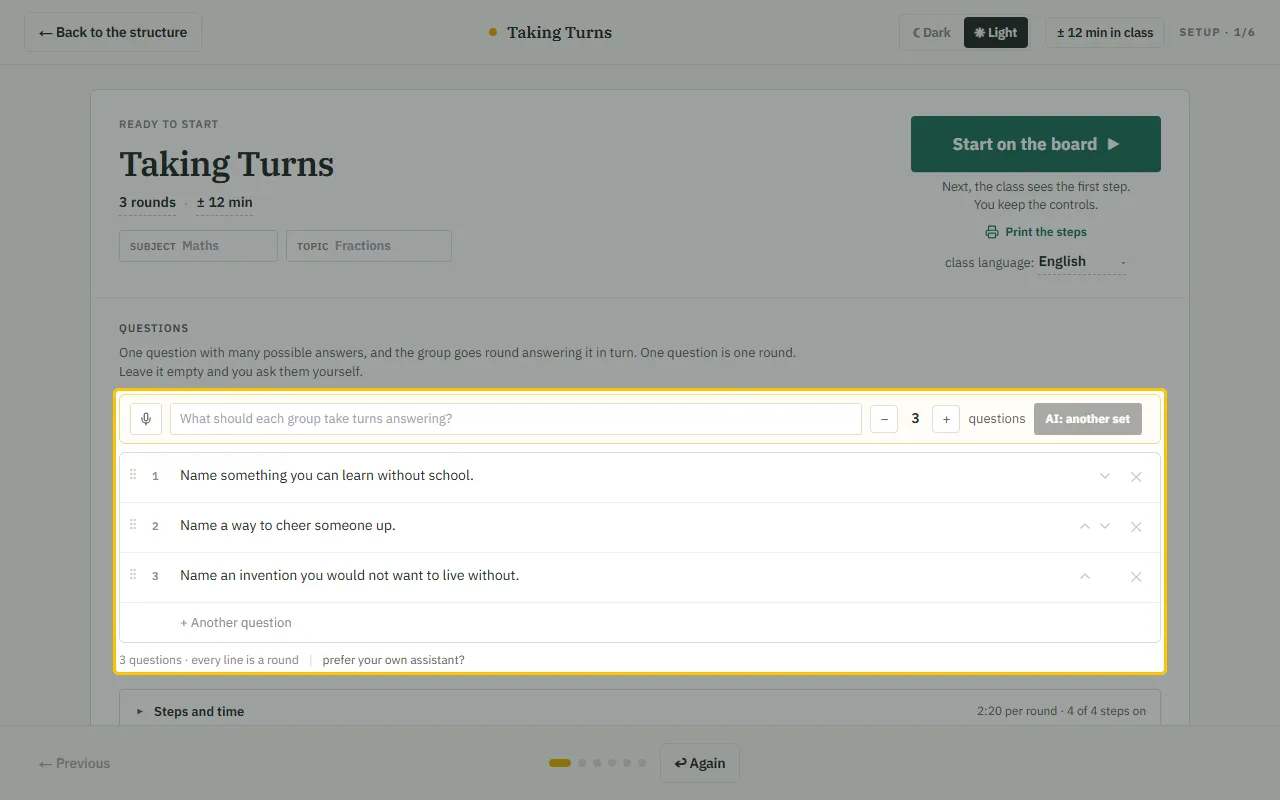
Above the lines is a field. Type what the lesson is about there; the more you tell, the better the result. With − and + you choose how many questions to add. Then click “AI: another set”. The new lines land under what was already there, and you edit them like any other line. The AI writes in the language you chose for the class. This works with a free account, five times a month. No account, or rather in Copilot or your own assistant? Click “prefer your own assistant?” and then “Copy prompt”: that prompt was written for this structure.
Step 5
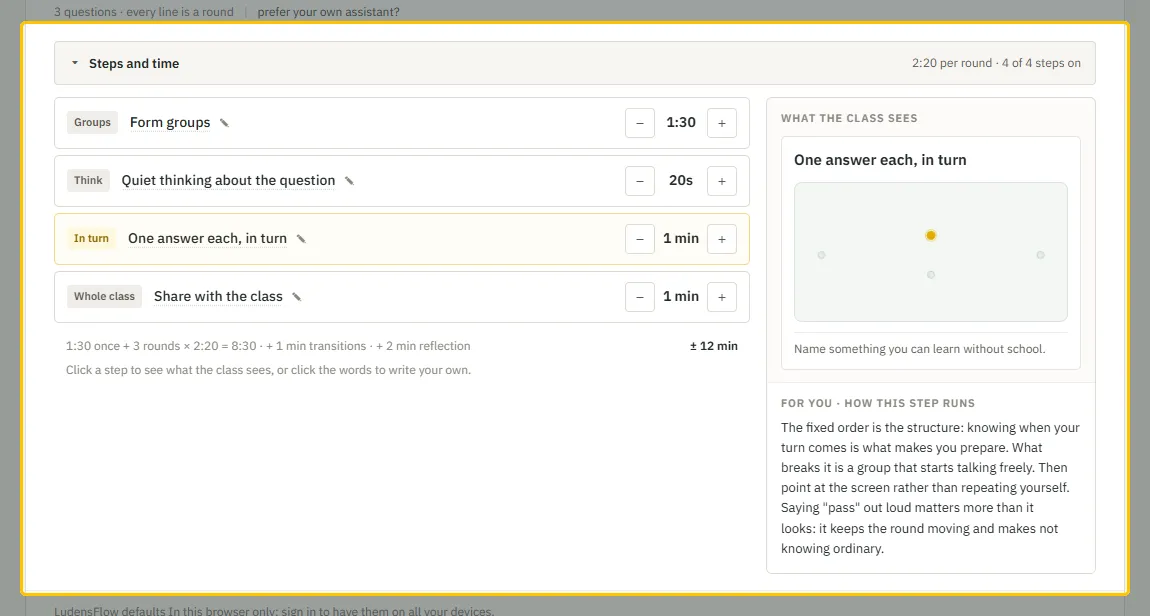
Set the time per step
Open “Steps and time”. Set each step's time with − and +; a step at 0 drops out. Click a step to see on the right what the class sees then, or click the words to write them yourself. The total time is at the bottom.
Step 6
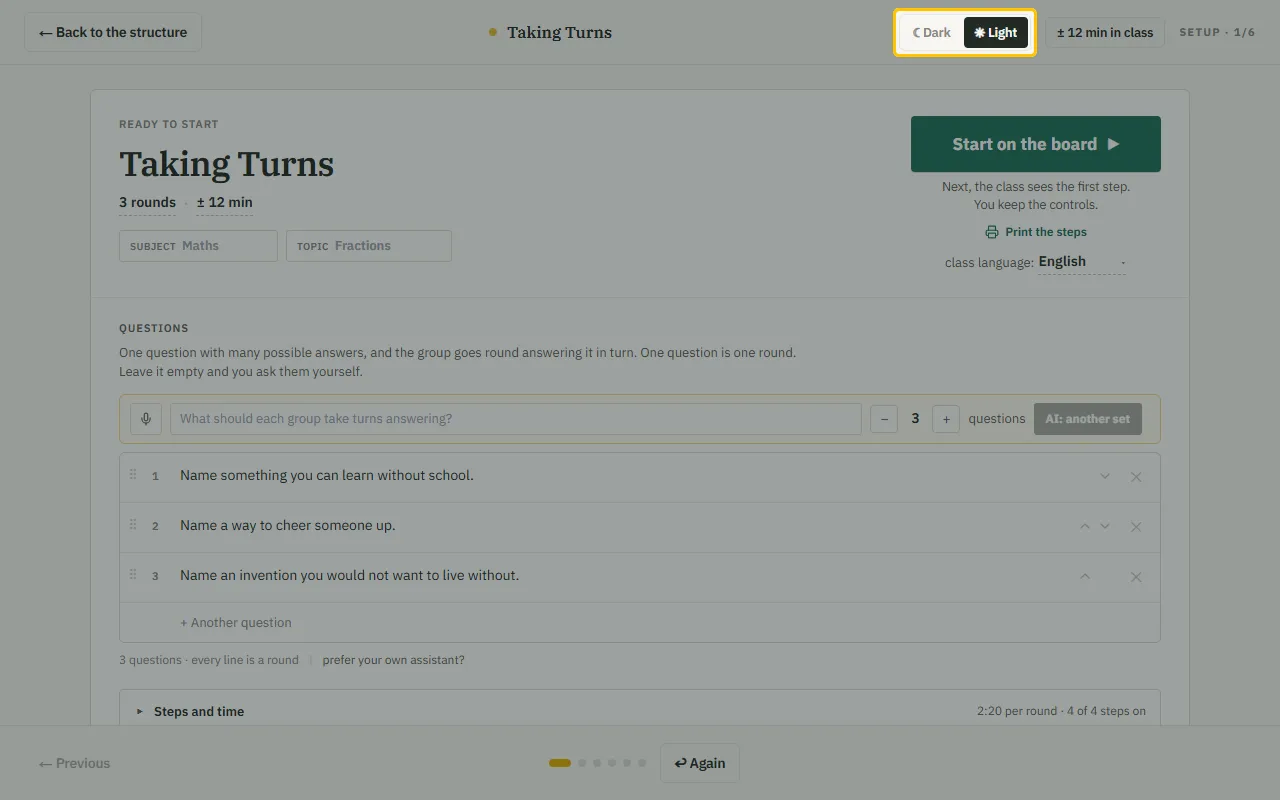
Light or dark board
At the top of the start screen is the switch “Dark” | “Light”. Dark is for a darkened room: it gives the most contrast on a beamer. Choose light if the room is bright or the beamer projects pale. If you save the preparation, the choice is saved with it.
Step 7
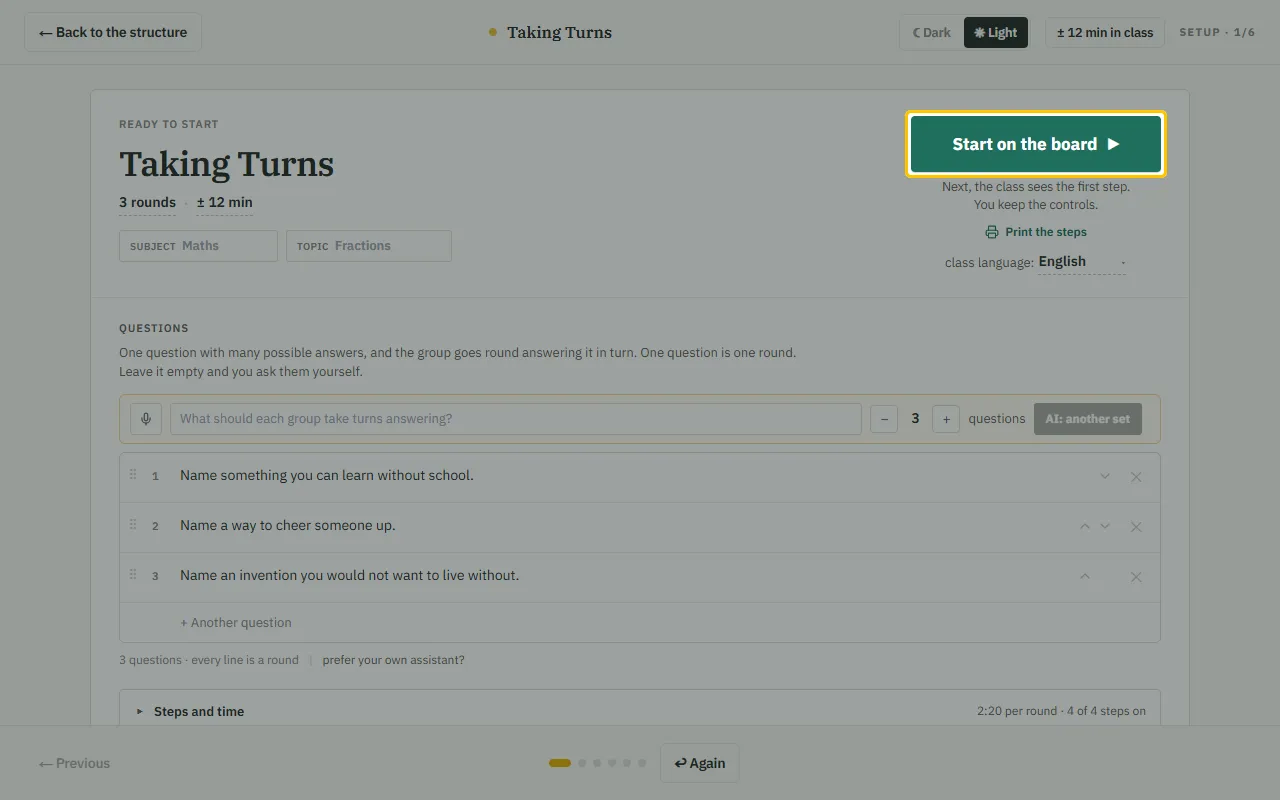
Ready to start
At the top right is “Start on the board”. Below it you choose the class language: the class can read the steps in a different language from yours. No board? “Print the steps” gives you them on one A4 sheet.
Step 8
Save it for another lesson
With a free account you keep the preparation with “Save preparation”. It then sits in “My preparations” and opens next time in one click, with your questions and times. A free account keeps five at a time. Full, and you need a new one? Then delete an older one in “My preparations”.